A good cob building soil has approximately 15-25% clay content and less than 30% silt. There are many kinds of suitable soil types: clay, sandy clay, sandy clay loam, clay loam, and loam. There can be a lot of complexity and things to think about with finding a good soil for cob building, and it can be overwhelming to those who are new to earthen building. But just take a deep breath and relax!
In the end, it’s all very intuitive and you will learn to distinguish suitable soil for cob mostly by sight and feel. With some experience, all of the categories, numbers, and percentages won’t even pass through your mind. You can usually judge its quality with your senses of touch and sight.
The aggregate (sand) and silt portions of soil will stay the same size whether they are wet or dry. These tiny aggregates need the clay to bind them together like a mortar. The clay by itself expands when it’s wet and contracts when it’s dry, thus making it unstable on its own. This is why you have to test your soils and determine their composition. You have to find a soil that will allow you to create the right balanced ratio.
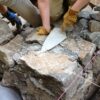
To find clay-rich soil, first check the soil at your building site. The closer you can source your soil the more efficient you will be. Soil can be a lot of work to transport from one point to another. Do soil tests in different locations around your property. Generally, you can just dig beneath the topsoil to find subsoils that can work for cob.
If you can not access any suitable subsoil from your property, it can easily be purchased from a local soil depot, landscaping center, or even from construction sites who need to get rid of excess soil. Before purchasing a large amount from an outside source, do some small cob mixture tests with a sample amount.
Creating and Analyzing Cob Test Blocks
There are many ways to test soil and analyze its suitability for cob. There are many simple field tests that you can perform, such as the: snake test, ribbon test, arm test, and jar test However, these tests are of very little benefit, and I have stopped teaching these over the years. You will eventually gain a sensory discernment for what good soil is and you won’t even need to use these tests.
Instead of going through these basic field tests, find subsoils that you want to try and simply make test mixes of cob. Use the chosen subsoil and test it with different ratios of aggregate. For each small cob batch that you mix, create small test bricks and let them dry out for 24-48 hours outside. You can let them dry in the shade or in the sun. The bricks must be at least the size of a standard red brick. For later reference, mark the bricks with the ratio of how much soil and aggregate was used.
Once all your bricks are completely dried through, observe the bricks for any issues. If the bricks are sandy and brittle, you probably added too much aggregate to your mixture. If the bricks are cracking then you probably added too much soil or water to your mixture. The bricks should be rock solid and you should not be able to scratch them deeply or break them in your hands. In the end, find a test batch that turned out strong and step up your tests with that mixture from there.
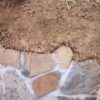
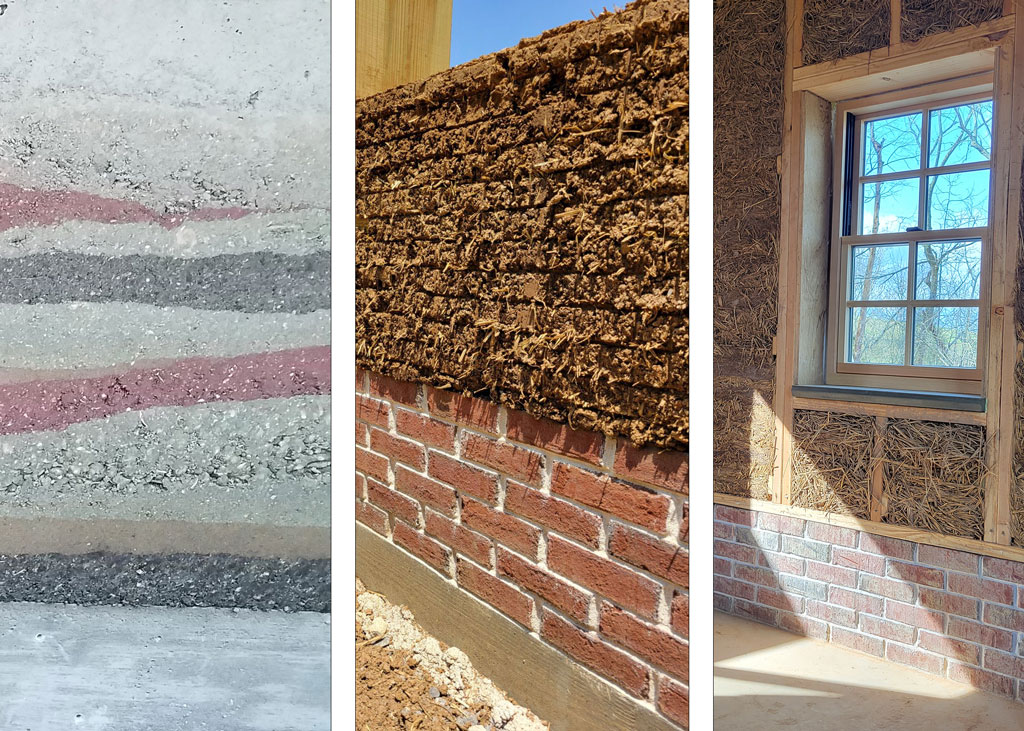
Once you have created a set of good test bricks, I recommend that you make a test wall. This might seem like a lot of extra work, but it will uncover any weaknesses in your cob mixture that small bricks will not reveal. A small test brick can look perfect with a given cob mixture, but sometimes when you start to build large portions of cob wall, problems can start to appear that you didn’t see with the bricks. The main problem that can be revealed is cracks. We mostly want to avoid long vertical cracks in our cob walls. These can be structural issues and decrease the monolithic aspect of a cob wall.
To build a test cob wall, construct a section of wall to the desired thickness you will be building your walls on your real project. This is usually between 18 and 24 inches thick. Next, build the wall section at least 5 feet long and 3 feet high. Let this section of wall dry for 2 to 3 weeks to observe its integrity. If there are any large vertical cracks that appear, you will want to adjust your cob mixture and start over. Vertical cracks in cob walls can be the result of several variables, but they are usually a result of not enough aggregate in the mix or too much water being added to the mix.
Pro tip: It’s easier to sculpt and work with a wet, pliable cob mixture in your hands, but wet cob has a higher tendency to crack as it dries. The clay soil will expand with water and then leave a void as that water dissipates out of the cob. Try to create a stiffer cob mix that you can work with.